


Mastering peptide reconstitution: your Star Labs guide
Welcome to your essential tutorial for safely and effectively reconstituting your premium Star Labs peptides. Follow these simple steps to ensure the integrity and efficacy of your products. Your journey to proper peptide preparation begins here.
Before you begin: gather your essentials
Preparation is key to successful peptide reconstitution. Ensure you have all the necessary materials ready and at hand in a clean environment before you start the process.
Required materials:
- Lyophilized peptide vial
- Bacteriostatic water
- Alcohol prep pads
- Sterile syringe (1–3 ml)
- Insulin syringes for dosing
- Clean workspace
- Sharps container
⚠️ Always use bacteriostatic water when possible because it helps prevent bacterial growth, maintaining the purity of your Star Labs peptides.

Cleanliness is critical: prepare your hands and workspace
Maintaining a sterile environment is paramount to prevent contamination and ensure the quality of your Star Labs peptides. Follow these steps for thorough preparation:
Steps:
- Wash hands thoroughly with soap and warm water.
- Dry with a clean towel.
- Wipe the workspace with disinfectant or alcohol.
- Lay out all supplies on a clean surface.
This meticulous approach helps significantly reduce contamination risk, protecting your premium Canadian-made peptides.
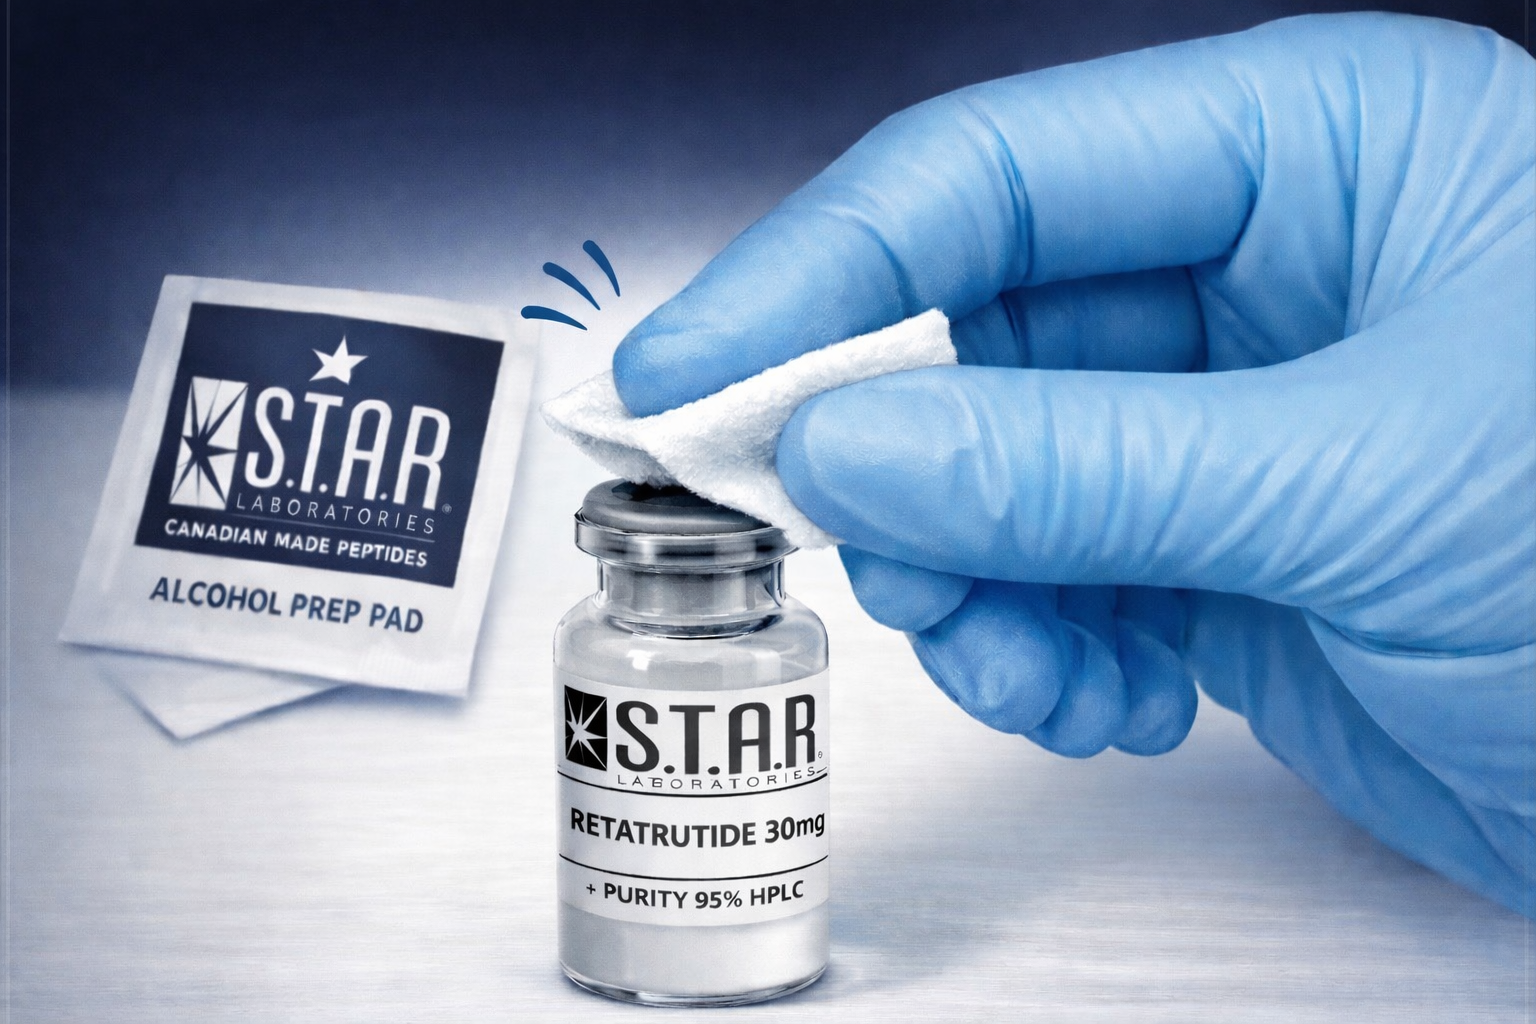
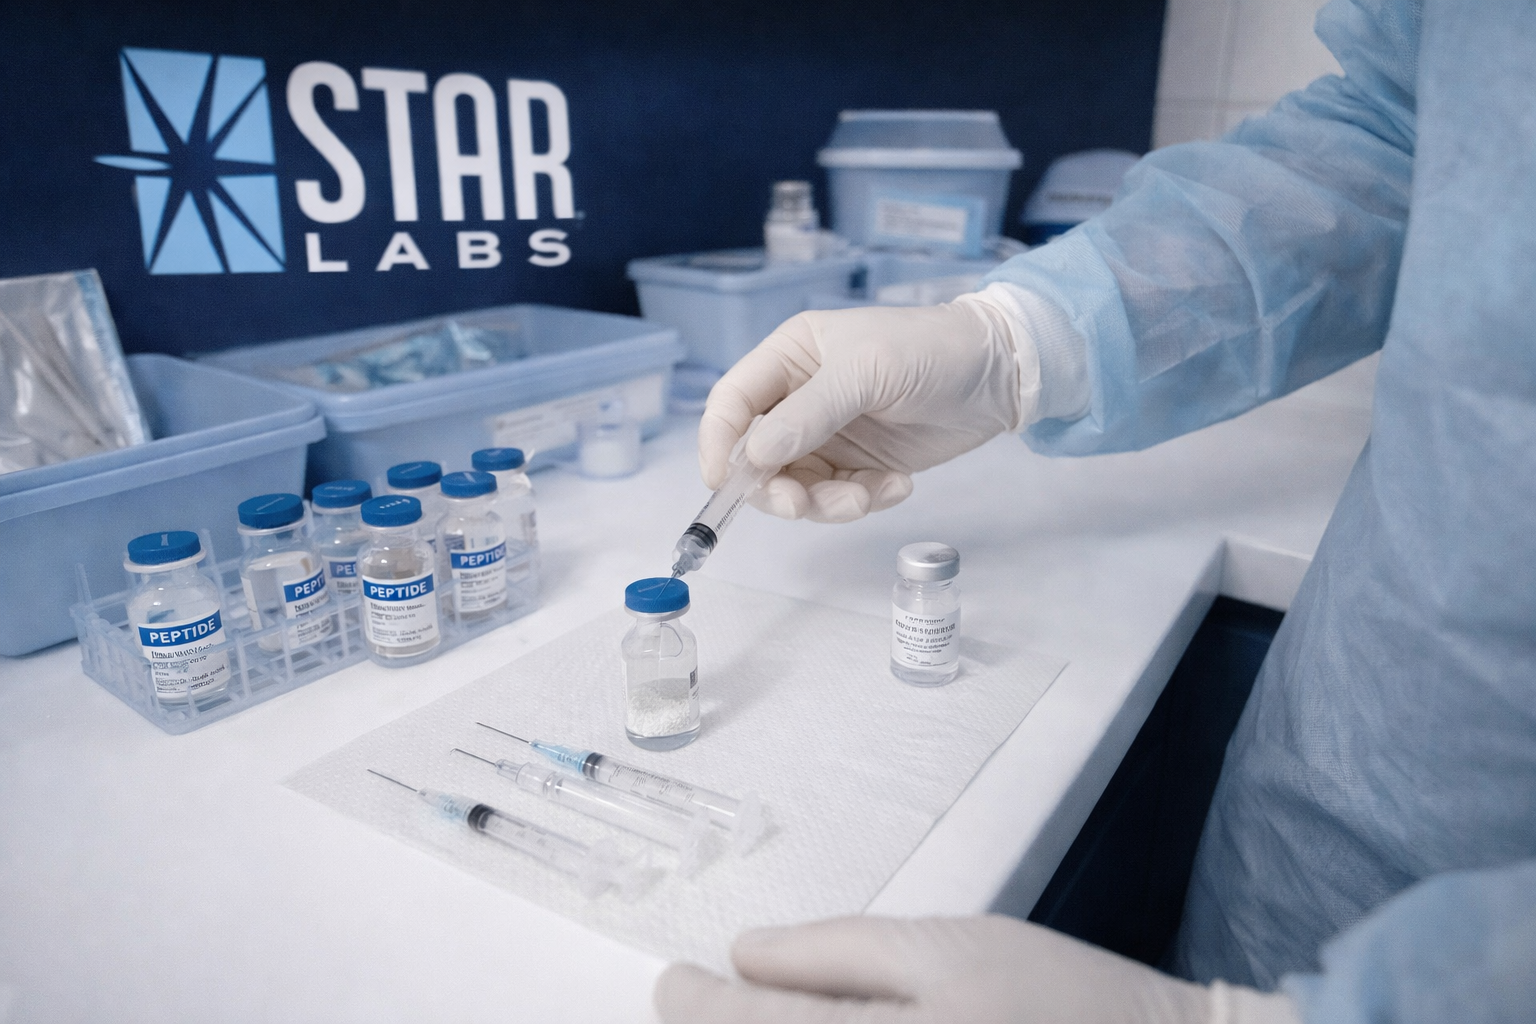
Sanitize the vial tops: a crucial step
Before introducing any needles, it is vital to sanitize the vial tops to maintain sterility and prevent contamination of your Star Labs peptides.
Steps:
- Use an alcohol prep pad.
- Wipe the rubber stopper of both the peptide vial and the bacteriostatic water vial.
- Allow them to air dry completely.
Important: Never touch the sterilized tops afterward to preserve their cleanliness.
4. Draw Bacteriostatic Water into the Syringe
- Remove the syringe cap.
- Insert the needle into the bacteriostatic water vial.
- Pull back the plunger to draw the desired amount of water.
Typical reconstitution volumes:
Peptide Amount. Common Water Amount
5 mg 2 ml
10 mg. 2-3 ml
The amount used simply determines how concentrated the solution will be.
5. Slowly Inject Water into the Peptide Vial
This is one of the most important steps.
- Insert the needle into the peptide vial.
- Aim the needle toward the side of the vial.
- Slowly push the plunger so the water runs down the glass wall.
⚠️ Never blast water directly onto the peptide powder.
Peptides are delicate and can denature if injected too forcefully.
6. Allow the Peptide to Dissolve
After adding the water:
- Do not shake the vial.
- Gently swirl or roll the vial if necessary.
Most peptides dissolve within 10–60 seconds.
If needed, allow it to sit until the solution becomes clear and fully dissolved.
7. Label the Vial
This step is often overlooked but very important.
Label the vial with:
- Peptide name
- Date reconstituted
- Concentration
Example:
CJC-1295 – 5mg
Reconstituted: March 21
2 ml water
8. Store the Peptide Properly
After reconstitution:
- Store in the refrigerator (2–8°C / 36–46°F).
- Keep away from light.
- Avoid repeated warming and cooling.
Typical stability:
- 2–4 weeks refrigerated (when using bacteriostatic water).
9. Drawing Your Dose
When ready to use:
- Sanitize vial top again.
- Insert insulin syringe.
- Draw the required dose.
- Remove air bubbles.
- Administer as directed.
Always use a new sterile syringe for every injection.
10. Dispose of Needles Safely
Used syringes should be placed in a sharps container.
Never:
- reuse needles
- leave exposed needles in garbage
Proper disposal protects both you and others.
Quick Safety Tips
✔ Always maintain sterility
✔ Never shake peptide vials
✔ Inject water slowly down the vial wall
✔ Refrigerate after reconstitution
✔ Use new needles every time